Hull
I purchased a second watertight hull from Blue Robotics (same specs as the first hull) to house the batteries and any secondary electronics that don’t fit in the main hull. This means the rov will have two 4″x13″ watertight containers. While that is great for the electronics, it does complicate other aspects of the rov design.
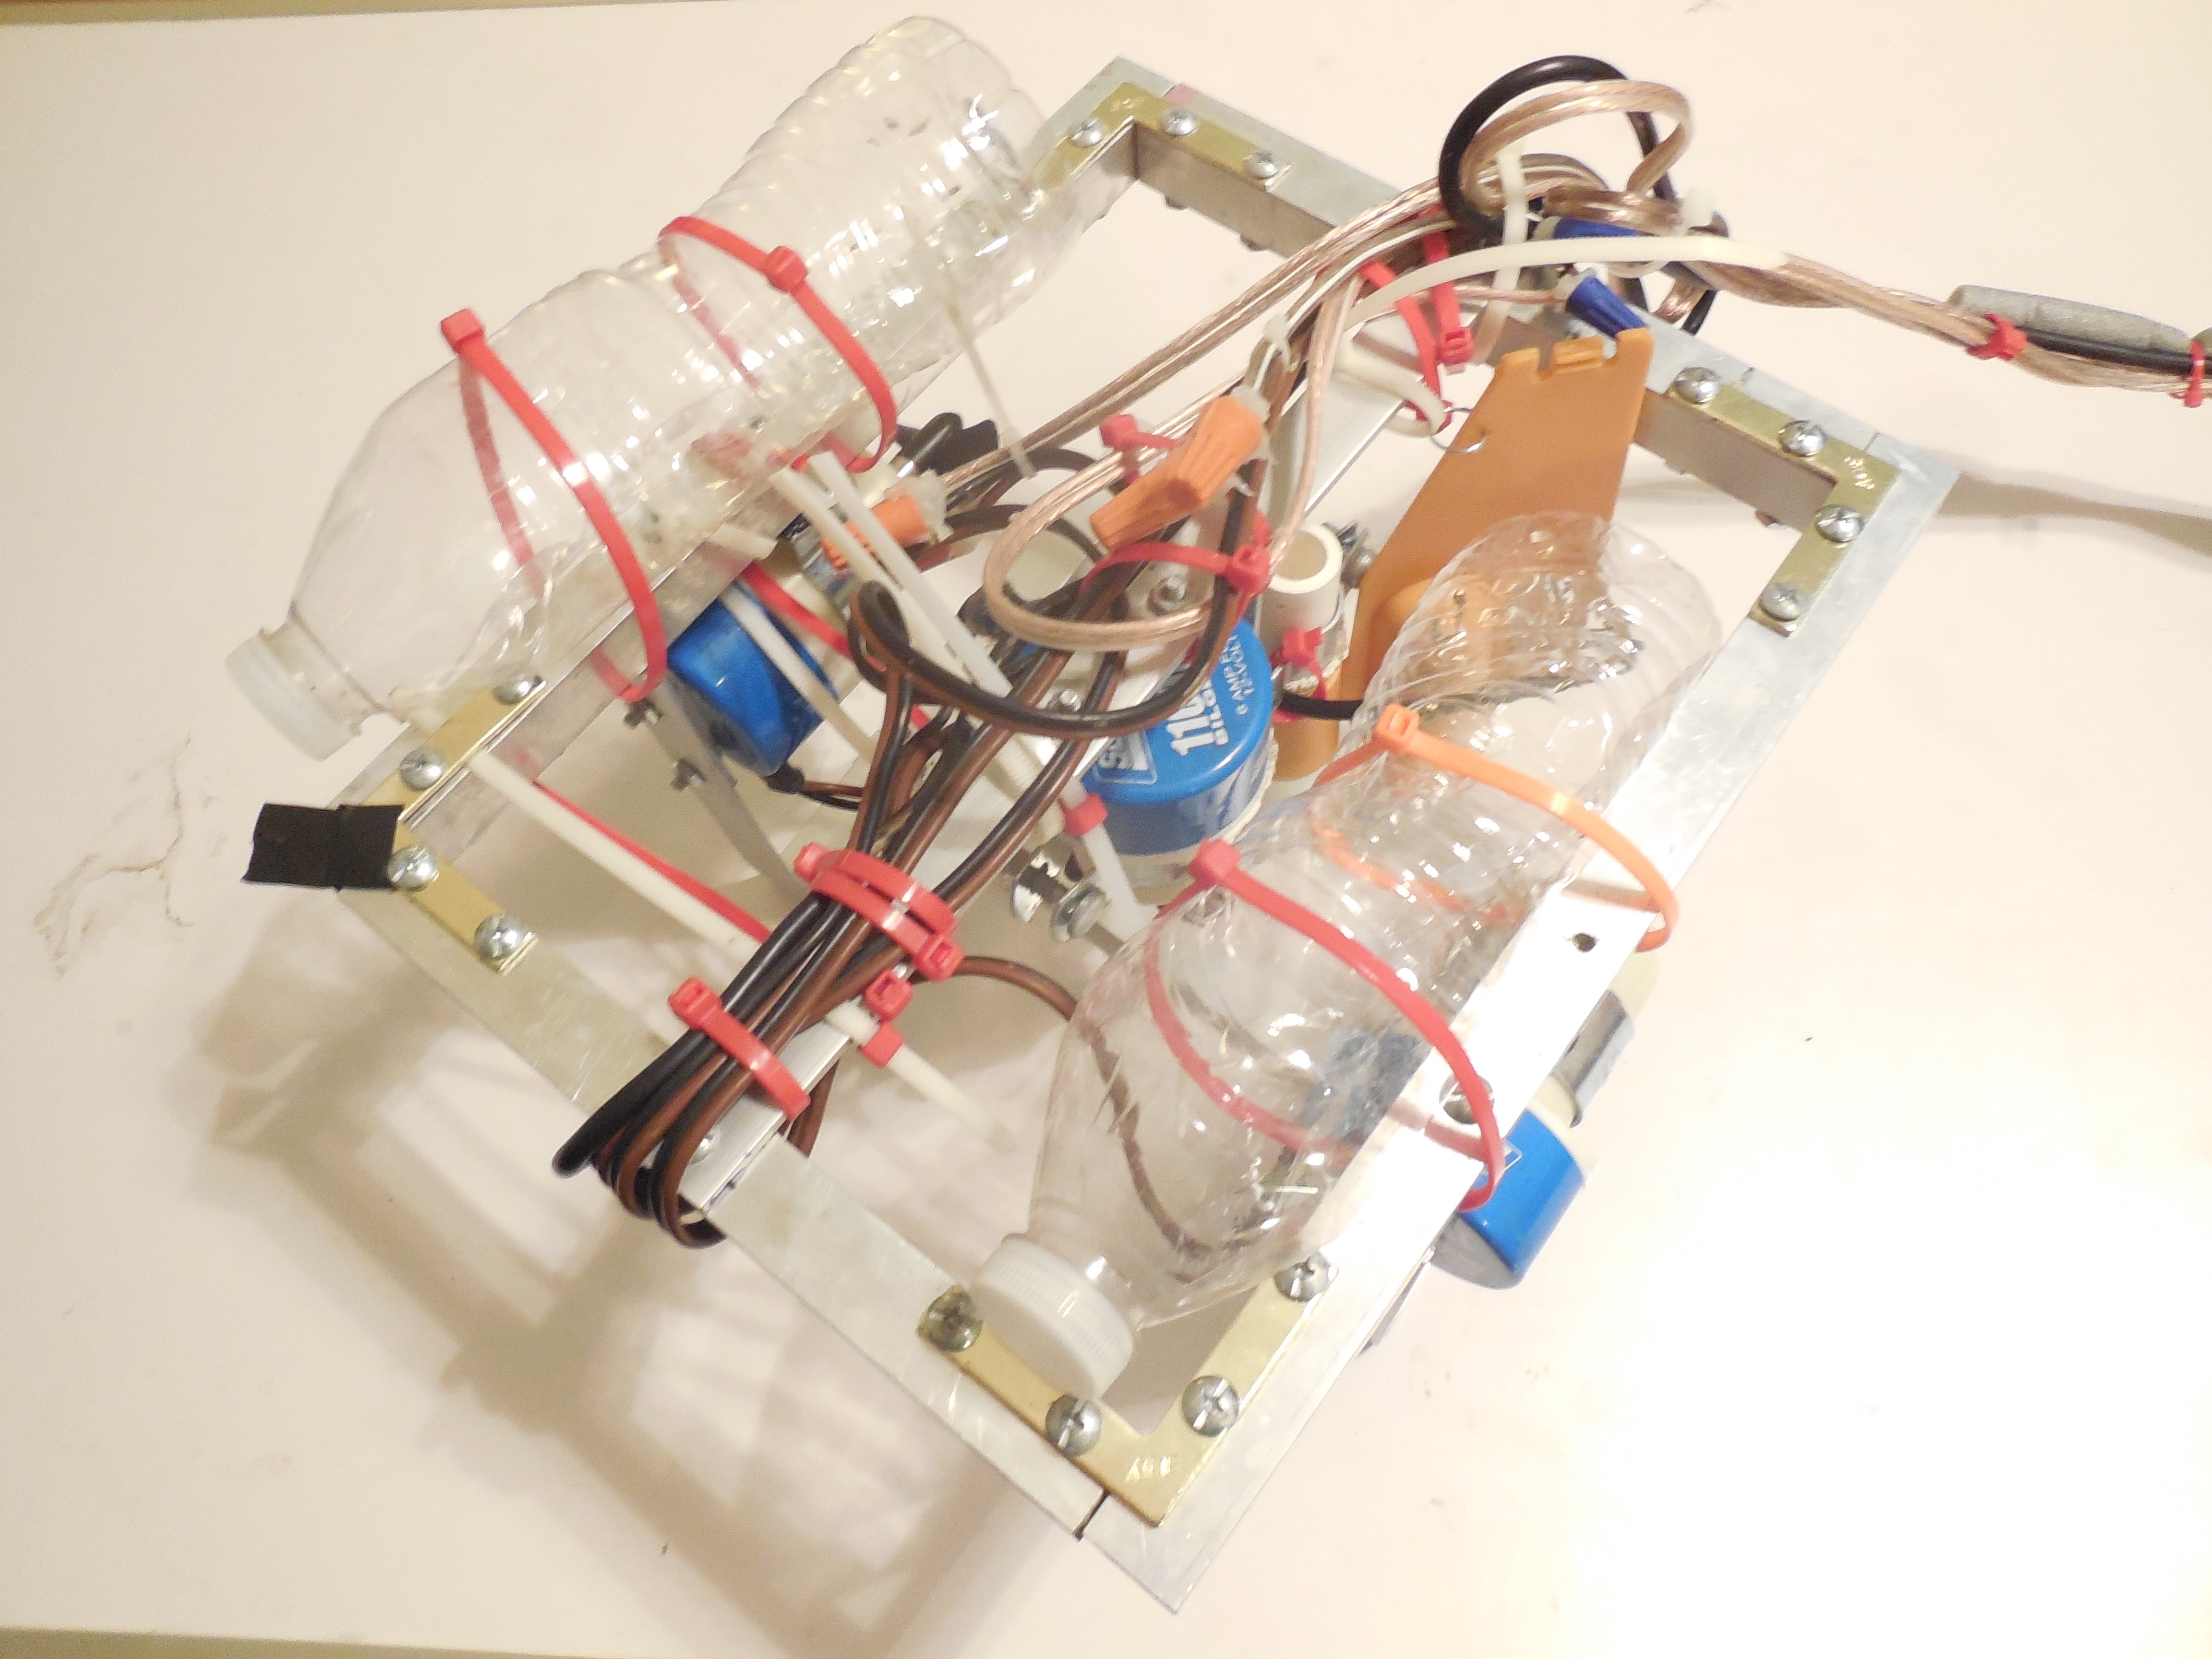
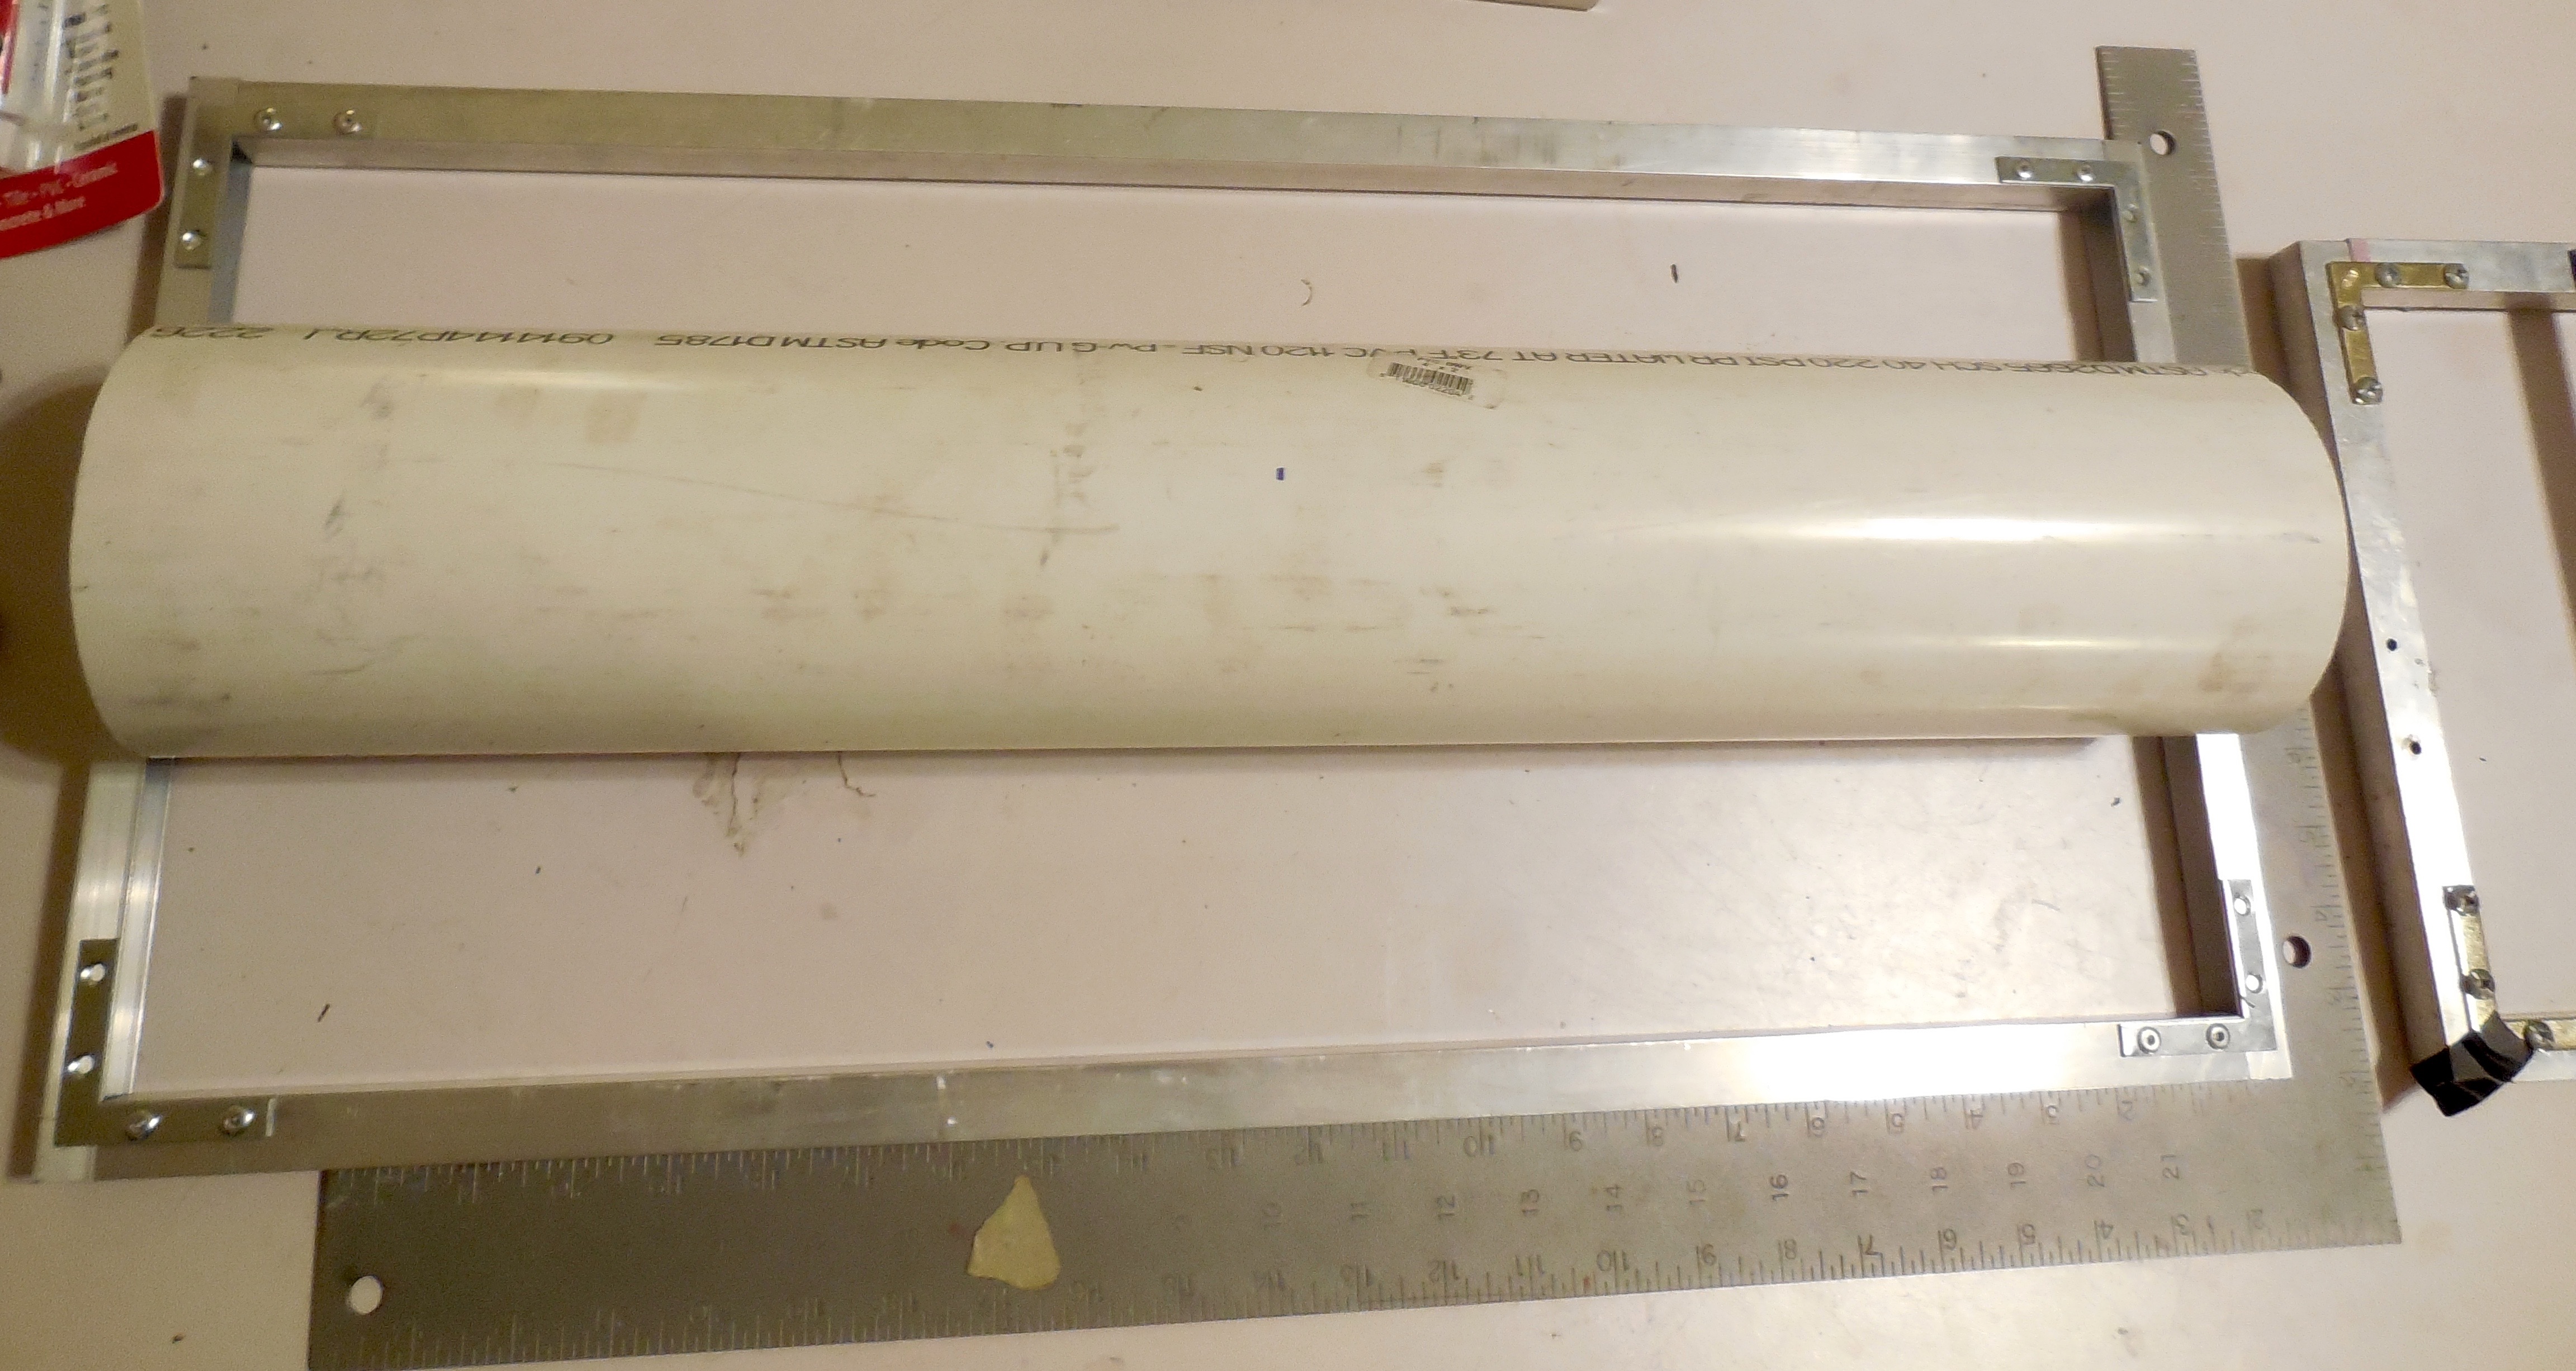
Frame
Changing the design of the water tight container has complicated the current frame design. I had already built the major portion of the frame before switching containers, and the new design doesn’t really fit well with the frame. The new container is much shorter than the original custom hull I was going to build (13″ vs 24″). I tried different arrangements with the new containers on the frame and none of them are satisfactory. Ultimately the problem is that the frame is too long and since I riveted the pieces together it won’t be a trivial task shortening the frame. I pondered building a new frame better suited to the new containers. However, it turns out that the frame from a past rov I worked on is just the right size. That rov is Determination, an rov that I helped design and build while part of TCA Robotics. The frame from Determination is tall enough to stack two containers on top of each other, and just the right length and width. I probably won’t use Determination’s frame for KARR permanently, just for the time being so I can get the rest of the system up and running and figure out what to for the frame long-term. It is actually kind of interesting that I will be using Determination’s frame for this project, as I had designed a similar computerized control system for Determination, but we never got around to implementing it. I guess that will finally become a reality.
Software
Over the past week I have started designing the software portion of the project. I switched from Kivy to Tkinter for the operator console GUI framework. While Tkinter doesn’t seem to have as many features as Kivy, it does seem to be more straightforward in its usage. Assuming I can send a usb and composite video signal over the tether the GUI will be run on the Raspberry Pi. There will be two programs that form the overall GUI; a video player in the middle of the screen and the operator console GUI. The video player will probably be vlc or the built-in raspi camera preview program. Raspbian, the default operating system for the Raspberry Pi (based on Debian) uses LXDE for the desktop environment. Thankfully custom window rules can be set up in LXDE through a config file. This means that I can set up rules for the camera viewer window and the operator console. These rules include window size, position, keep above/below, whether the window has a title bar and border, etc. The camera viewer will be set to the screen center (x and y), no border or title bar, and “keep above”. The GUI will be set to maximize and no border or titlebar. I will probably write a bash script that launches the viewer and GUI at startup.
Thrusters
Today I figured out how to attach the propeller shrouds to the thruster mounts. I didn’t think there would be enough clearance between the propeller and bracket for this method to work, but thankfully there is, as this is a very simple way to attach the shroud. The thruster mount itself is actually made from two conduit hangers and a right-angle bracket. I have used this design on several other rovs and it has worked very well. A flat bracket joins the shroud to the rest of the mount. It is a ridiculously simple setup that hopefully works.